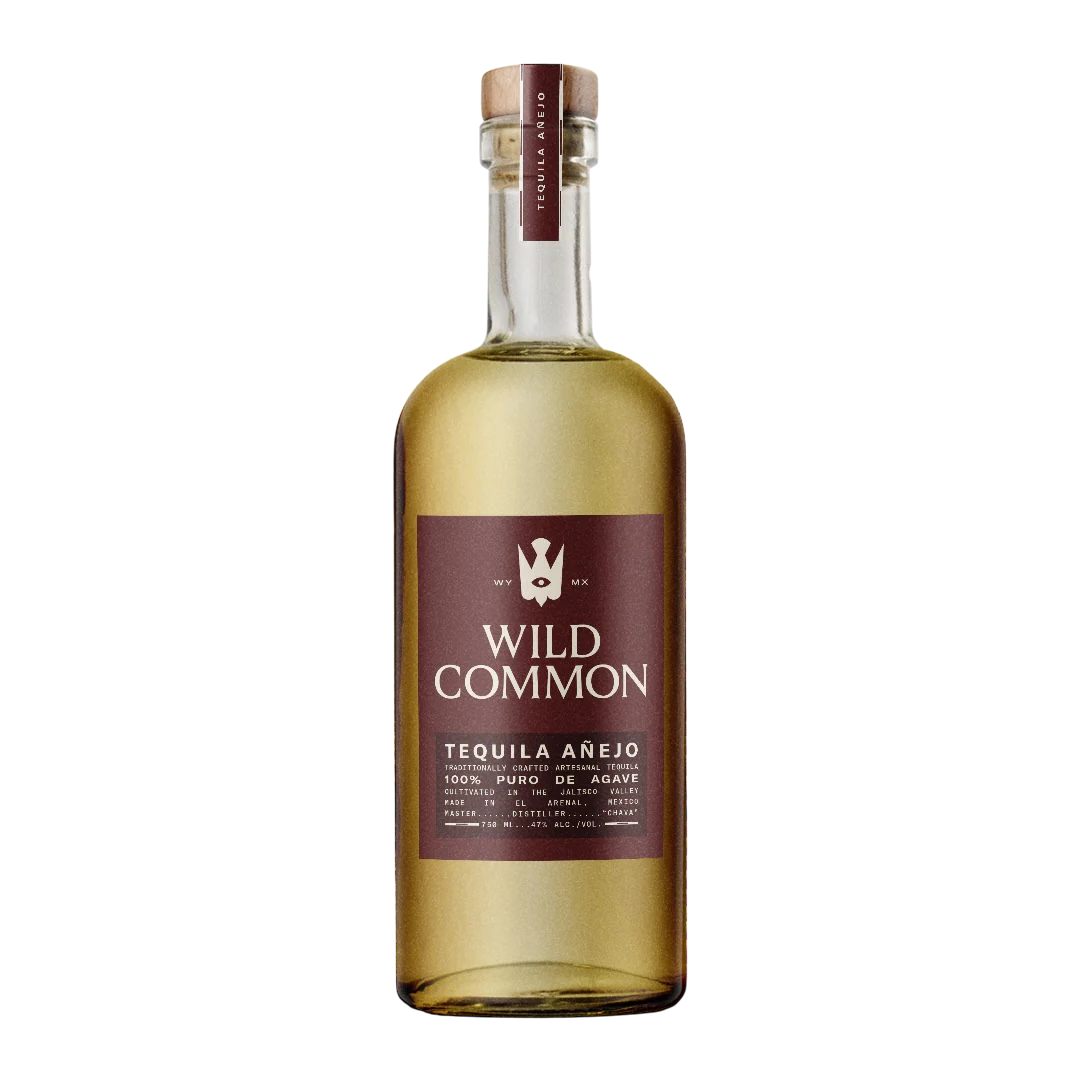
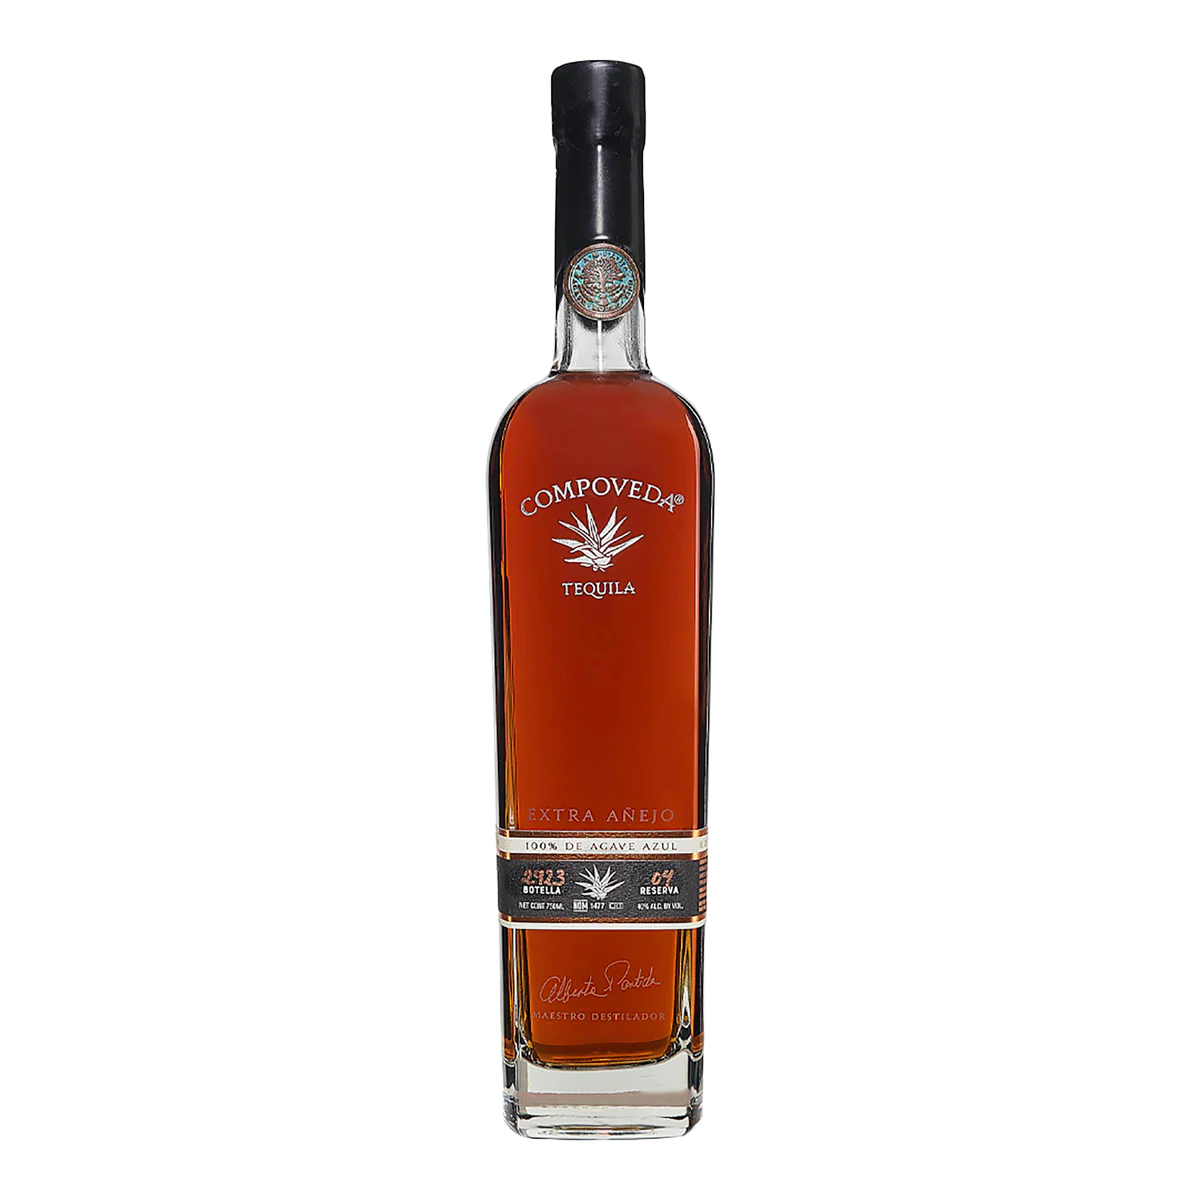
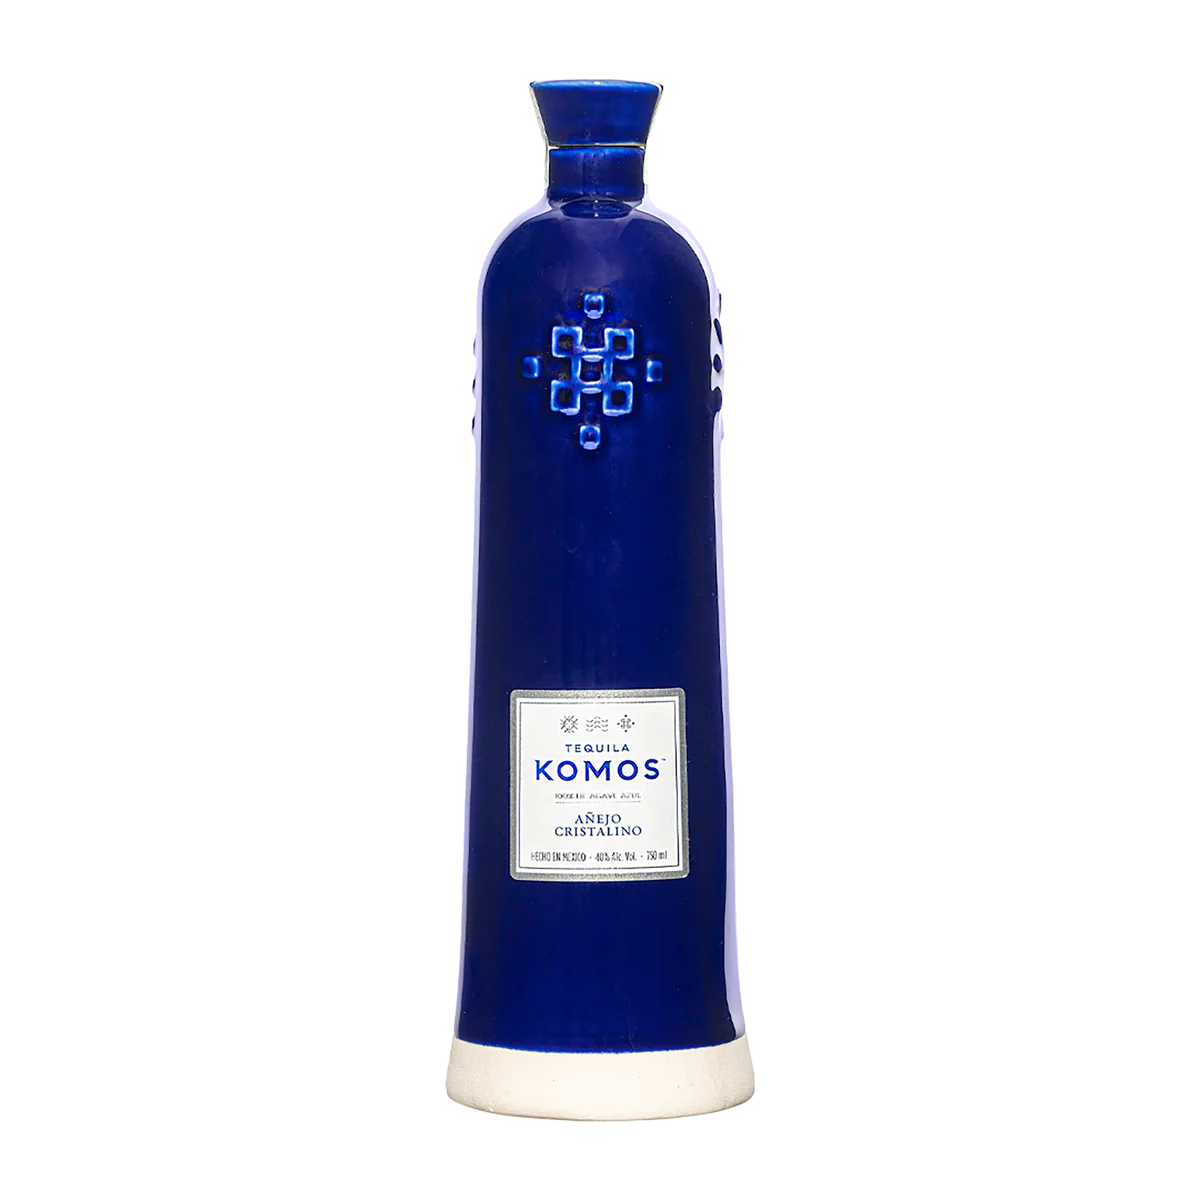
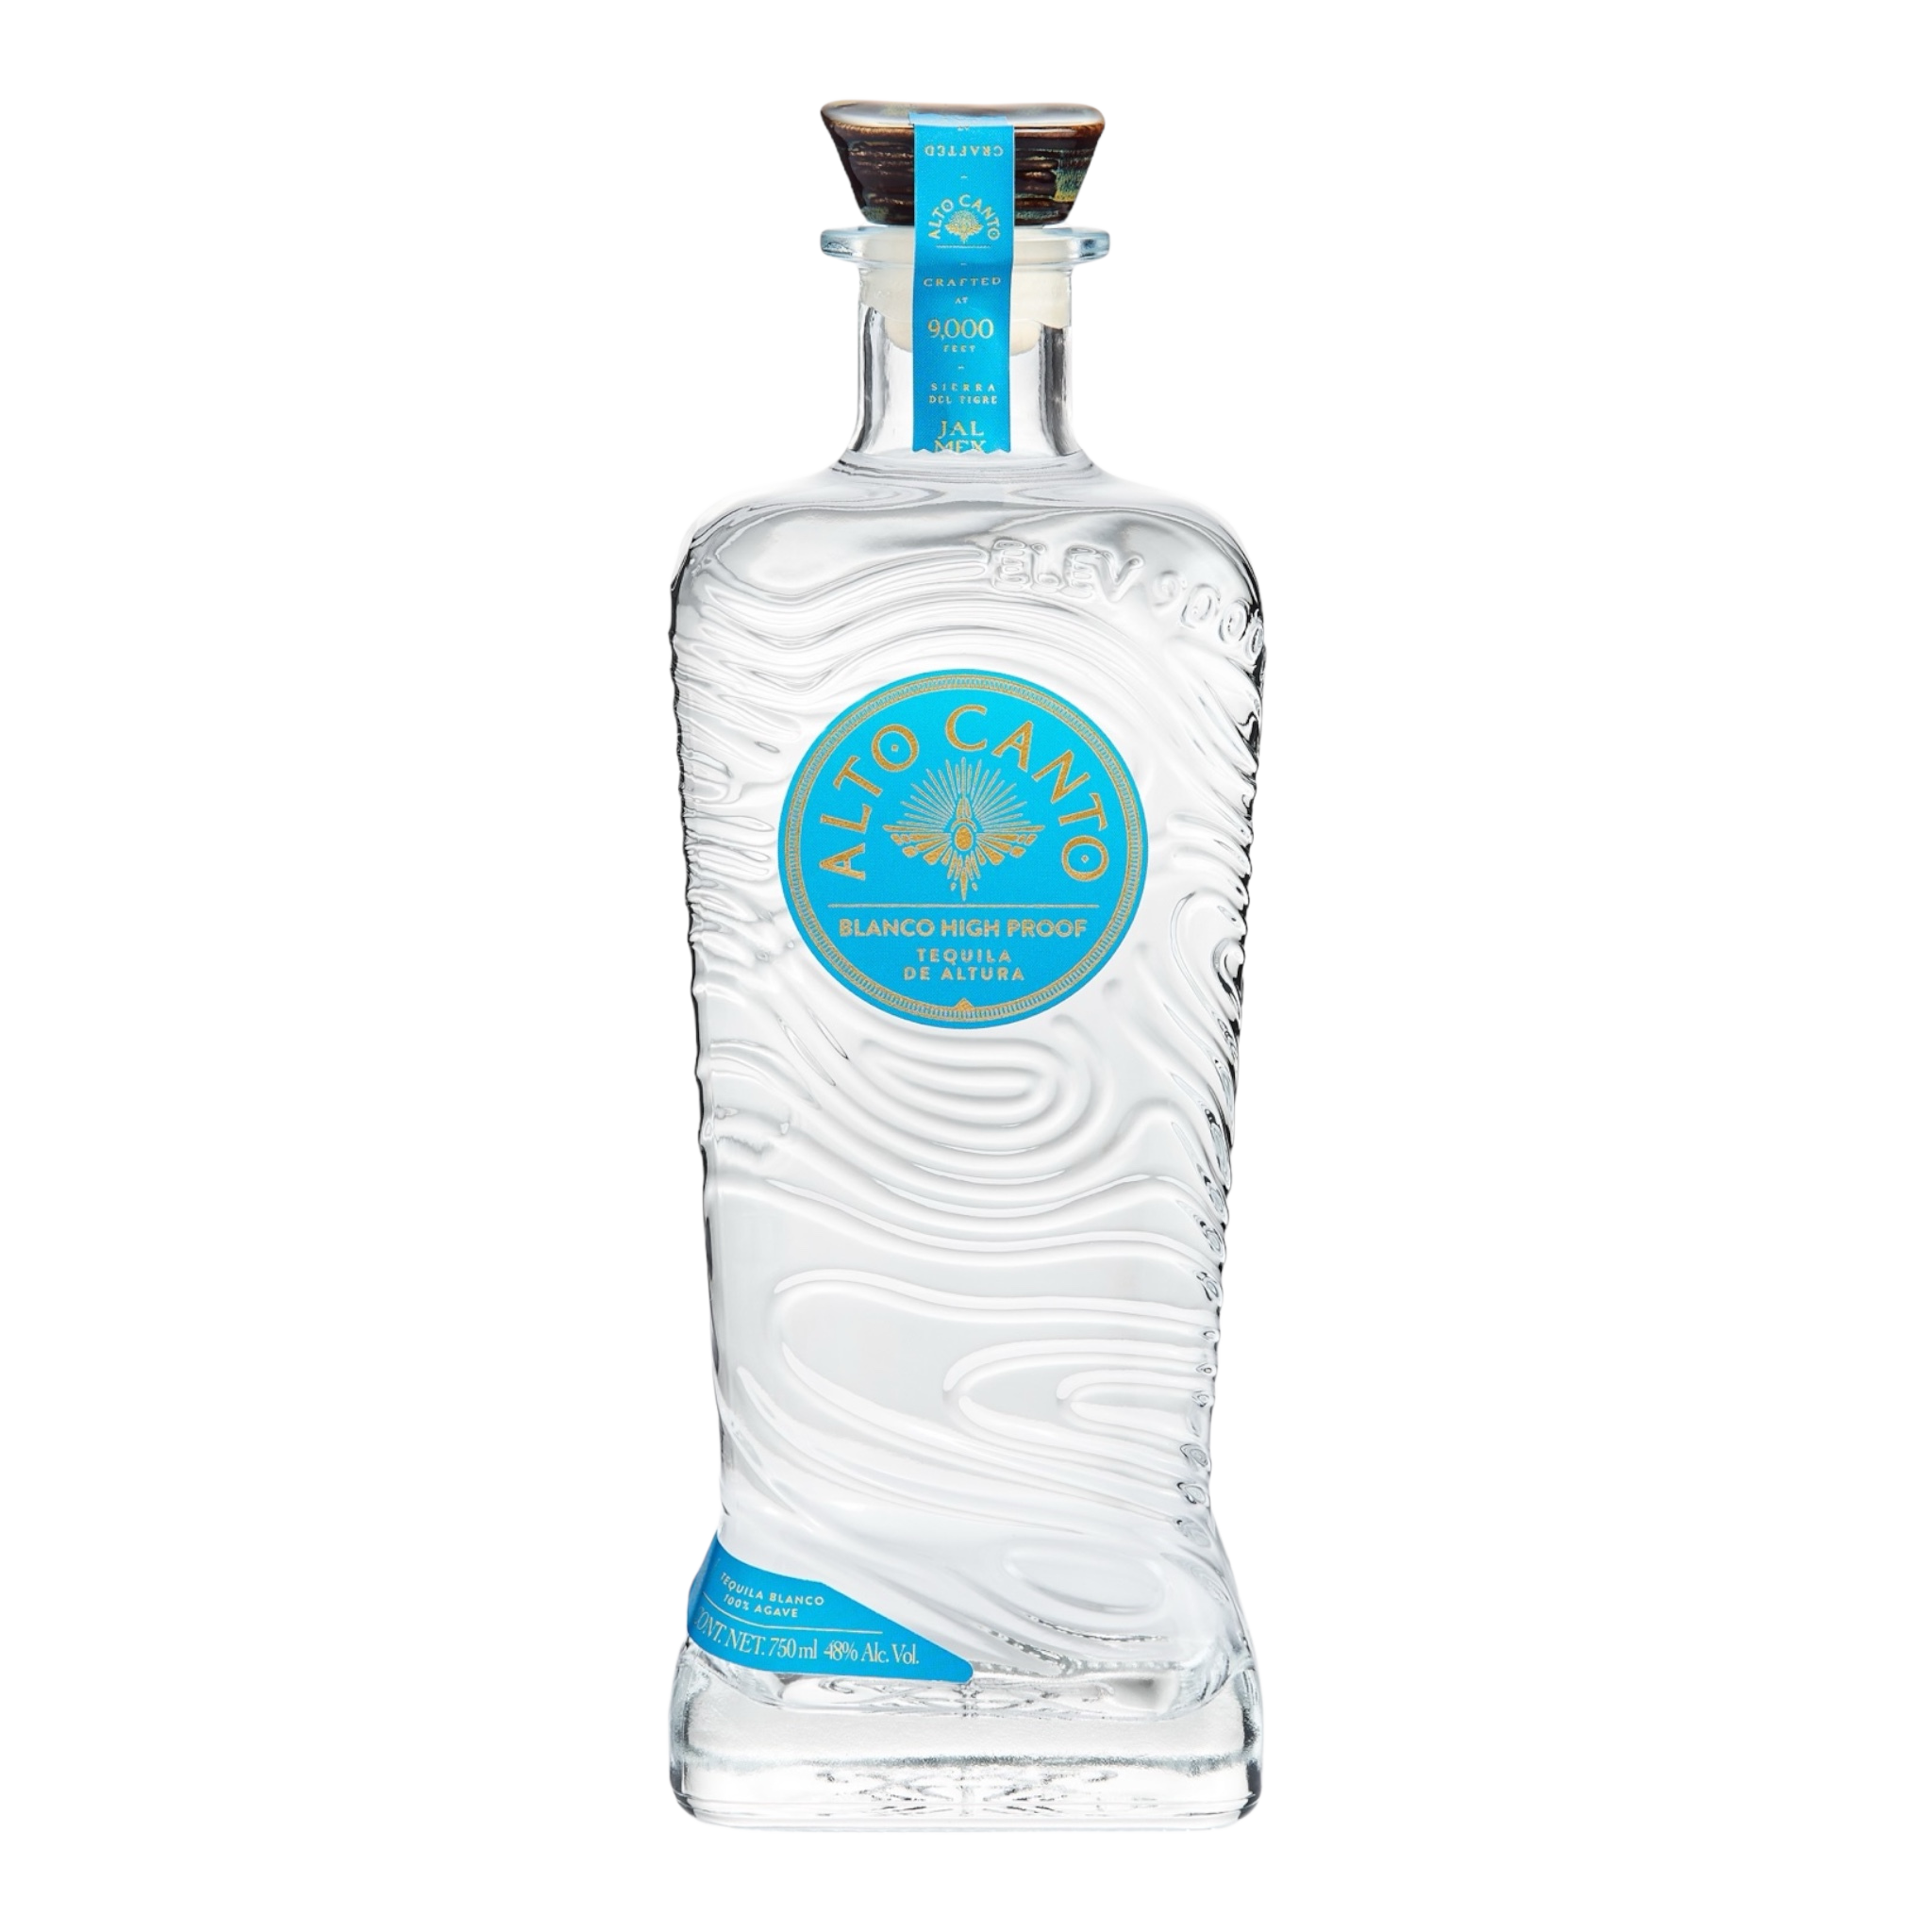




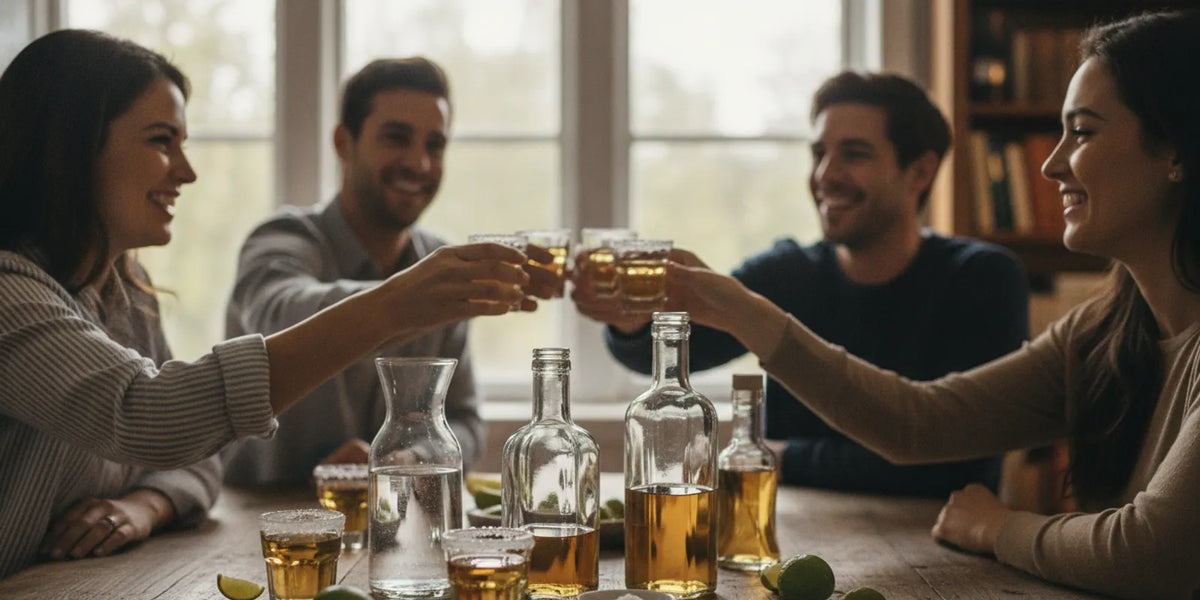
Learning how to host a tequila tasting is mostly about thoughtful preparation, not fancy equipment. Choose a small lineup, serve modest pours in a consistent order, and give guests time to notice what they smell and taste. A relaxed pace makes the evening more enjoyable for beginners and longtime fans alike.
Explore tequila tasting flights
Tequila tasting essentials
Quick plan: Set out three or four bottles, one glass per person for each pour (or rinse and reuse), room-temperature water, a neutral palate cleanser, and a simple tasting sheet. Keep the pours small and offer a no-pressure way to skip or spit a sample.
- Three or four different tequilas, with a clear reason for each selection.
- Small tasting glasses, ideally the same shape and size for fair comparison.
- Still water for sipping and rinsing, plus plain crackers or another mild palate cleanser.
- Paper and pens, or a printed note card with space for aroma, flavor, texture, and finish.
- Food, a safe ride plan, and nonalcoholic options for guests who prefer not to drink.
You do not need special glassware. A small tulip-shaped glass can concentrate aroma, but a clean wine glass or sturdy tumbler works too. Consistency matters more than the particular glass: using one style makes it easier to compare each pour. Avoid scented candles, strong room fragrance, and heavily seasoned snacks near the tasting table, since those can distract from the aromas in the glass.
Set out water before guests arrive and keep the room comfortable. Tequila is best assessed without ice or mixers during the comparison, but let guests add water or enjoy a later pour however they like. The tasting is an invitation to explore, not a test with a right answer.
How should you choose the bottles?
Quick plan: Pick a theme, limit the lineup, and vary one or two characteristics at a time. A useful first tasting might compare a blanco with a reposado and an añejo; another could compare three blancos from different producers.
A theme gives the tasting a through line. You could compare expressions across aging styles, look at bottles from one region, or choose different producers within the same style. For a first gathering, contrasting styles makes the experience easy to explain: guests can notice how aroma, texture, and finish change. If everyone already knows the basics, keep the style consistent and compare production choices or flavor impressions instead.
Tequila labels use defined categories, and the Consejo Regulador del Tequila provides information about the denomination and product standards. Check its official tequila information when you want a reference for category terms. For the tasting itself, use each bottle's label and product details as your guide rather than assuming color alone tells the whole story.
Make the first pour a good orientation point, not necessarily the cheapest or most expensive bottle. Start with a clean, lighter-feeling option, then move toward expressions with more time in wood or a more pronounced character. Finish with a bottle that is richer or more distinctive, if you have one. The point is to make comparisons easy, not to rank bottles by price.
| Tasting lineup idea | What to compare | Best for |
|---|---|---|
| Blanco, reposado, añejo | How aroma, color, texture, and finish differ across styles | A first-time group or a broad introduction |
| Three blancos | Differences in aroma, palate, and finish while holding style steady | Guests who want a focused comparison |
| Three reposados | How producers' flavor profiles vary within one expression | People who enjoy a softer, oak-influenced pour |
| One bottle, two ways | A small neat pour beside a carefully prepared mixed drink | A casual gathering centered on how serving changes perception |
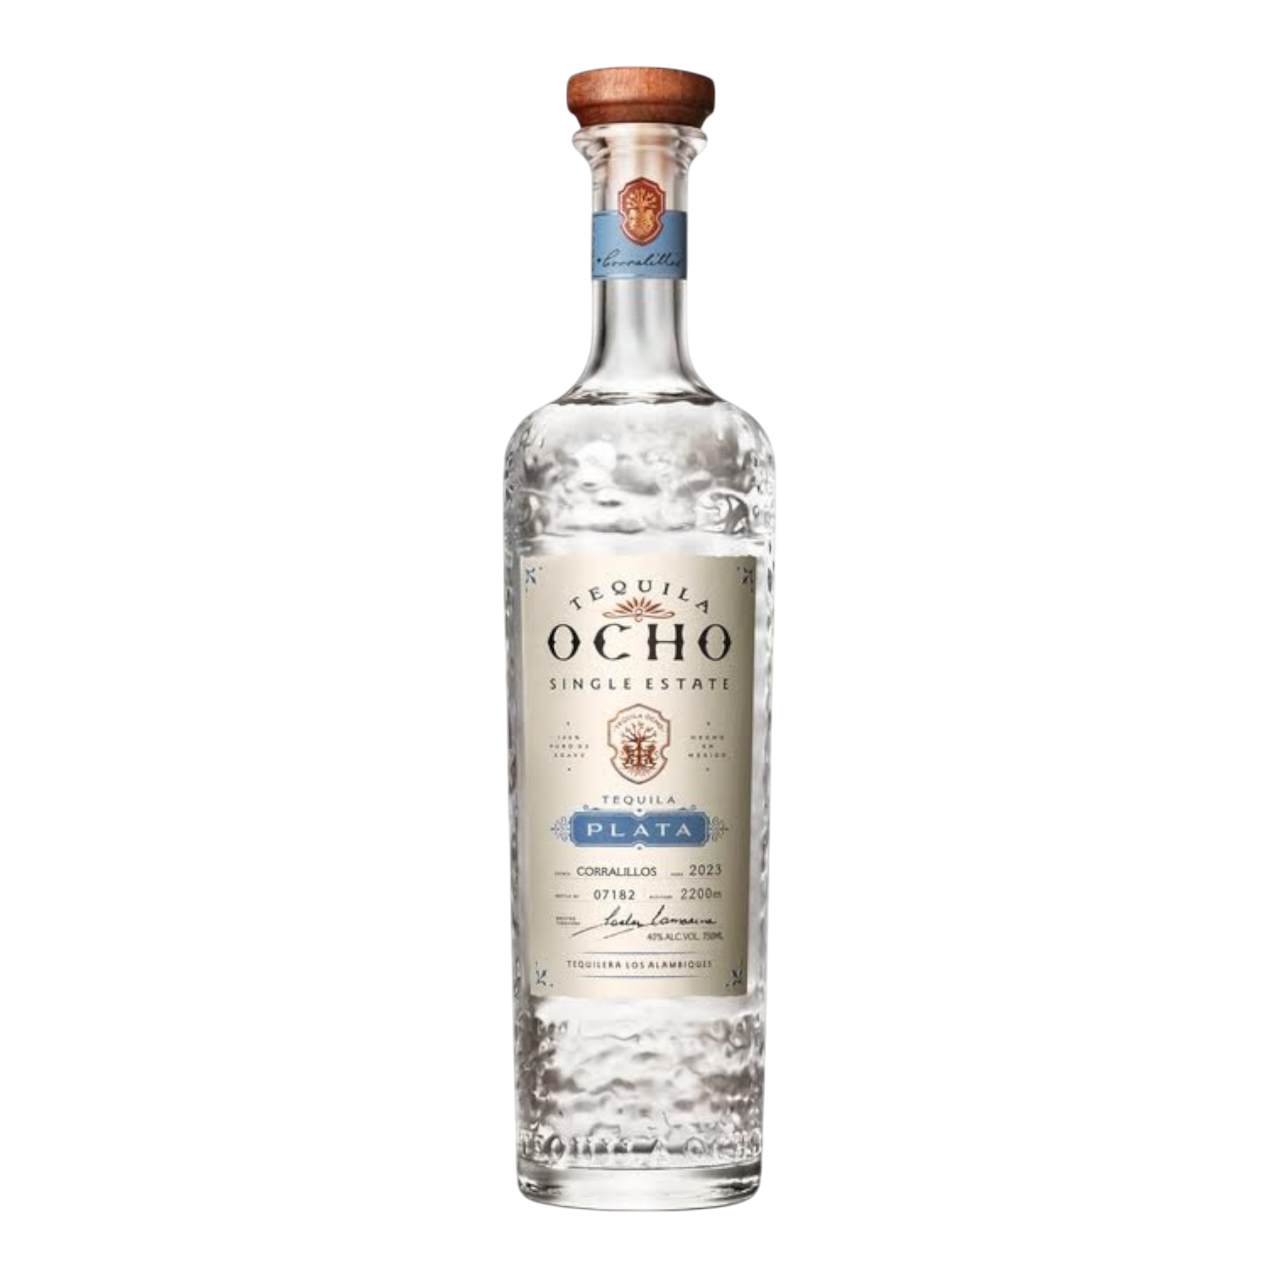
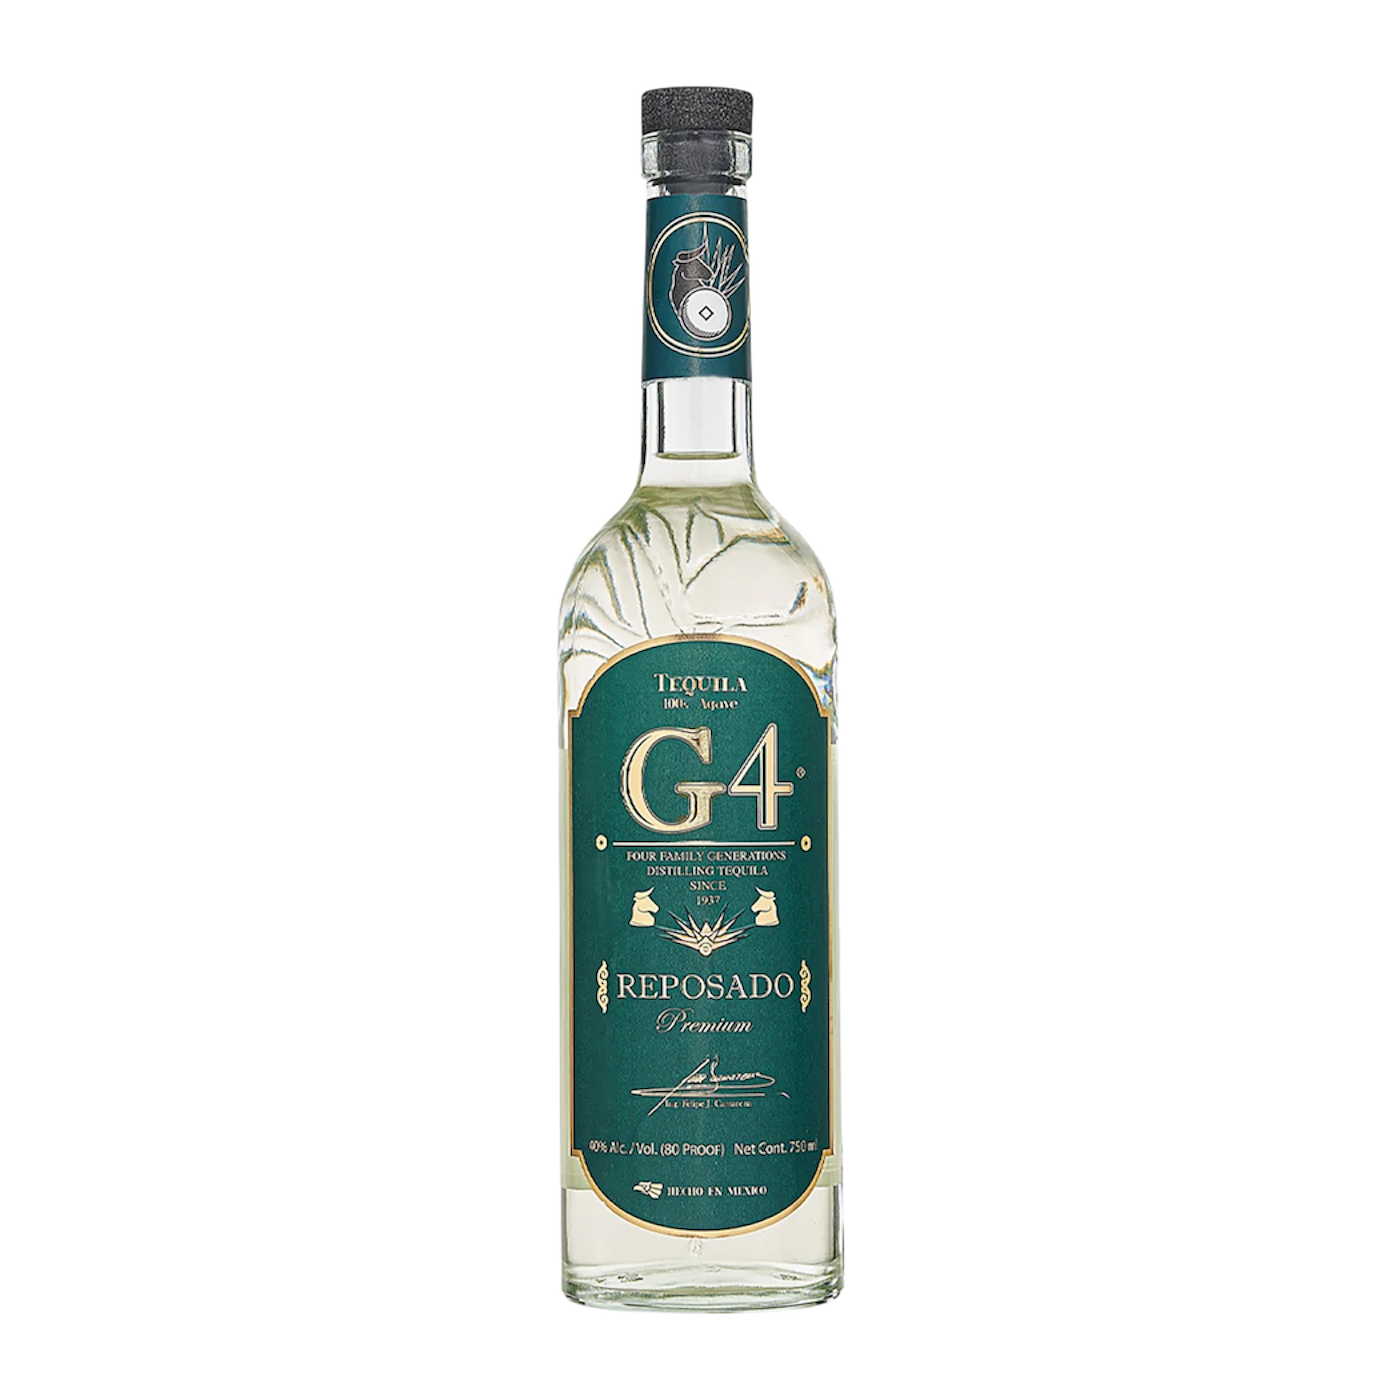
For a quick way to assemble a themed set, browse tasting flights and sets. You can also use specific examples to build a lineup, such as G4 Blanco beside a reposado selection, or include a G4 Reposado for a same-producer comparison. Product availability can change, so confirm the bottle details before making your plan.
Bottle and guest planning
Quick plan: Three bottles are enough to create a clear comparison. Keep the guest list small enough that everyone can hear each other, see the bottles, and take a turn sharing an observation.
There is no magic guest count, but a group of four to eight is easy to manage around a home table. With fewer people, conversation can go deeper; with more, consider splitting into smaller groups or appointing one person to pour. Ask about preferences and dietary needs in advance, and make it clear that tasting is optional. A guest can smell a sample, take a sip, or pass without explanation.
Plan roughly half an ounce to one ounce per bottle per person for a guided comparison. Those are small tasting pours, not a promise that every guest should finish each one. Adjust the amount to your group, comply with local laws, and keep the total modest. If you want the gathering to last longer, use fewer bottles and spend more time comparing rather than increasing the pour size.
Estimate the total before shopping: multiply the number of guests by the number of bottles and the pour size. For example, six people tasting three bottles at half an ounce each requires nine ounces in total, before allowing a little extra for spills or a host demonstration. Check bottle size and what you already own; the goal is to pour enough for comparison without creating unnecessary leftovers or pressure to drink.
Guests might want to explore different styles after the guided portion. Keep any additional pours optional and separate from the structured tasting. If you prefer one bottle per person or want a ready-made variety, a flight or set may help you narrow down the format.
A comfortable tasting schedule
A simple schedule helps the host enjoy the gathering, too. Leave guests a few minutes to arrive, settle in, and get a glass of water before the first pour. Introduce the theme in one or two sentences, then explain that tasting notes are personal and passing is always fine. You do not need a long history lesson before anyone can begin.
- Welcome and settle in: Offer water and nonalcoholic drinks, point out the food, and let guests know where to put coats or bags.
- Explain the lineup: Share why you chose the bottles and the order you plan to taste them. Save detailed bottle information until after the first impressions if you want an unprompted comparison.
- Take one sample at a time: Give everyone a quiet moment to smell and taste, then invite a few observations. Let the conversation breathe instead of asking every person to speak about every glass.
- Pause and reset: Leave a few minutes for water, a snack, and a break before the next pour.
- Finish with choice: Ask which sample people would revisit, then let the formal tasting end. Any additional drink or food is optional.
For a three-bottle lineup, reserve about an hour for the guided portion, including introductions and pauses. A shorter tasting can work just as well if everyone is ready; stretch it only when the group is interested. Keep an eye on how guests feel, not just the clock. If conversation slows or someone has had enough, bring the structured tasting to a close. The best schedule is flexible, comfortable, and safe for everyone.
How do you set up the room and serve each pour?
Quick plan: Put the bottles in order, label the pours, pour the same amount for each guest, and leave space between samples. Serve at room temperature and let each glass sit for a moment before guests smell or taste.
- Arrange the table. Place glasses, water, note cards, and a neutral snack within reach. Keep food with strong aromas a little farther away.
- Order the bottles. Begin with the most delicate or least oak-influenced style, then move toward richer or more pronounced options.
- Pour small samples. Keep the serving size consistent across the lineup. If you are pouring ahead, mark the glasses clearly so no one has to guess which is which.
- Pause between samples. Offer water and a plain palate cleanser. A short break helps reset attention; there is no need to hurry through the lineup.
- Keep the bottle information handy. Reveal names and details after an initial impression if you want to reduce label or price bias.
Do not chill the bottles for the comparison. Very cold temperatures can make aromas harder to notice. You can offer ice after the formal tasting for anyone who prefers it, or provide a mixer for a relaxed second round. Keep the original neat sample as the shared reference point so guests can compare their impressions before changing the drink.
Think about the practical details, too. Keep bottles away from the edge of the table, provide a place for used glasses, and have a designated driver or other safe transportation plan. Do not encourage anyone to drive after drinking. A tasting should be enjoyable and responsible, and guests should be free to stop at any time.
How can guests taste without needing expert vocabulary?
Quick plan: Invite guests to look, smell, sip, and reflect. Ask open questions rather than offering a list of “correct” flavors. A useful note is simply what the person actually notices.
- Look: Notice the color and clarity. Treat appearance as one observation, not a quality score.
- Smell: Bring the glass toward your nose gently. Take a short sniff, pause, then try again. Some people find it helpful to smell with their mouth slightly open.
- Sip: Take a small sip and let it move across the palate. Notice the first impression, texture, and how long the flavor stays.
- Reflect: Write one or two words, then decide whether you would want another sip. There is no need to identify a precise fruit, spice, or cooking note.
Use questions that welcome different answers: Does it feel bright or rounded? Is the aroma subtle or bold? What changes between the first sip and the finish? Would you enjoy it neat, with food, or in a cocktail? These prompts give the group something concrete to discuss without turning the host into a lecturer.
Keep tasting notes brief. A four-column card for aroma, palate, texture, and finish is plenty. Add a final line for “favorite so far” or “what I’d serve it with.” Some guests may notice citrus or pepper; others may say fresh, warm, earthy, or simply “not for me.” All of those are useful reactions.
When comparing bottles, remind guests to focus on their own experience before discussing price, awards, or producer stories. Those details can influence expectations. Once everyone has recorded an initial thought, share the bottle names and any label information that helps explain the lineup.
Simple food and water
Quick plan: Offer plain water throughout and keep food simple. Choose a few mild or complementary snacks, and avoid making every bite intensely salty, spicy, sweet, or aromatic.
Plain crackers, lightly salted nuts, sliced fruit, and mild cheeses are easy starting points. A casual meal can come after the comparison, with dishes guests already enjoy. If you want a pairing theme, select one or two foods and ask whether they change the aroma or finish. Keep portions modest and make sure nonalcoholic drinks and food are available to everyone.
There is no universal pairing rule. A dish that makes one bottle seem brighter might make another feel quieter. Invite guests to taste a bite, take a small sip, and note what changed. If the food overwhelms the sample, return to water and a plain cracker before moving on. Avoid serving a strong sauce between every pour; it can make the tasting harder rather than more interesting.
Keep ingredients visible and ask guests about allergies or restrictions before choosing snacks. When serving a meal, explain what is in each dish. It is easy to focus on the bottles and forget that food safety and guest comfort matter just as much.
Common hosting mistakes
- Too many bottles: A long lineup can blur together. Three or four is plenty for a home tasting.
- Oversized pours: Small tastes make comparison possible while keeping the experience measured.
- Strong scents: Perfume, scented candles, and aromatic sprays can interfere with smelling the samples.
- Too much instruction: Let guests describe what they notice before you offer tasting notes or producer background.
- Price-led judging: A higher price does not tell a guest what they will enjoy. Taste first, then discuss the bottle.
- No break or water: Leave time to pause and reset between samples.
- Pressure to finish: A guest can decline, sip, or stop at any point. Never make participation a condition of the gathering.
- No plan for getting home: Decide on safe transportation before the event and do not let guests drive after drinking.
Another easy mistake is treating a tasting like a competition. Avoid scoring everyone’s palate or insisting that a certain bottle must be a favorite. If your group enjoys rating samples, make it playful and private: guests can mark their own card without defending their choices. The best result is a thoughtful conversation and a better idea of what each person likes.
After the tasting
Before the bottles are put away, ask each person to name one sample they would revisit and one detail they want to remember. Compare notes only if guests are comfortable sharing. The answers can be practical: one person preferred the lighter style, another liked the rounded finish, and someone else found a favorite for cocktails.
Save the bottle order and notes so you can repeat the tasting with a different theme next time. You might compare a Suerte Añejo with other aged expressions, explore the cristalino category, or build a regional lineup around tequila from Jalisco. These are ideas for future comparisons, not a required shopping list.
If guests want to continue exploring at home, suggest they check bottle details and serving options before choosing. For a different format, Sip Tequila also offers a tequila subscription box. Keep the next step optional; a good tasting can be memorable without everyone buying a bottle that night.
Find bottles and sets for your tasting
Frequently asked questions
How many tequilas should you taste in one sitting?
Three or four bottles is a manageable lineup for most home gatherings. It gives guests enough variety to compare without making the tasting feel long or repetitive. Use small pours and take a pause between samples.
Should tequila be served chilled at a tasting?
Serve the comparison pours at room temperature so guests can notice their aromas and flavors. Offer ice separately for anyone who prefers it after the guided tasting.
What glasses work for a tequila tasting?
Small tulip-shaped glasses can help concentrate aroma, but clean wine glasses or sturdy tumblers work too. Use the same kind of glass for each sample so the comparison stays consistent.
What is a good first tequila tasting lineup?
A blanco, a reposado, and an añejo make a straightforward introductory comparison. You can also compare three bottles of the same style if you want to focus on how producers differ.
Can guests spit or skip a pour?
Yes. Guests should feel comfortable skipping any sample, taking only a small sip, or spitting into a designated cup. Provide water, nonalcoholic drinks, and safe transportation options.
Explore tequila flights and sets
A successful tasting is a relaxed chance to notice what you enjoy, share a few discoveries, and leave plenty of room for each guest’s own preferences.